Charging a vehicle’s auxiliary battery while it is in use is essential for adventurers, campers, and fleet operators. That’s where DC-to-DC chargers come in! These powerful devices keep a vehicle’s secondary battery charged so that it can run a refrigerator during a road trip or power vital equipment.
This guide will walk you through the essentials of installing a DC-to-DC charger so you’re ready to keep the power flowing no matter where you go. By the end, you should be powered up for even the most demanding adventures.

Understanding the Basics of DC-to-DC Chargers
A DC-to-DC charger juices up a secondary (or auxiliary) battery from your vehicle’s alternator or starter battery. These chargers provide a more controlled and efficient charge than traditional voltage-sensitive relays, maximizing the battery’s performance and lifespan.
DC-to-DC chargers are particularly valuable for modern vehicles with smart alternators, which can adjust their voltage output depending on driving conditions. This often falls short of properly charging an auxiliary battery, though. A DC-to-DC charger steps in by boosting or limiting the voltage to provide a consistent charge.
Why You Need a DC-to-DC Charger
Getting a DC-to-DC charger is a vital upgrade for anyone who relies on multiple batteries while traveling. Whether you are off-grid camping with an RV, using equipment in a work vehicle, or embarking on long-distance road trips, a DC-to-DC charger offers several key benefits. With so many advantages, it’s important to consider which works best for your needs.
Advantages of DC-to-DC Chargers:
- The auxiliary battery charges to capacity, even with smart alternators or long cable runs.
- Regulated charging prevents overcharging or undercharging, both of which can shorten battery lifespan.
- It adapts to the voltage irregularities of smart alternators, providing reliable charging in new vehicles.
- Customizable settings for different battery types ensure safe and efficient operation.
- You can power essential equipment from convenient charging points, even when you’re away.
Types of DC-to-DC Chargers
You can choose from a variety of DC-to-DC chargers, and they generally come in two primary types:
1. Portable DC-to-DC Chargers
These compact and lightweight devices don’t require fixed installation. They are perfect for users who need flexibility or move between multiple vehicles. Many people use them for temporary batteries or occasional camping trips.
2. Fixed DC-to-DC Chargers
Permanently installed in your vehicle, fixed DC-to-DC chargers offer reliability and ease of use. They are ideal for off-road enthusiasts, people who drive work vehicles, or frequent travelers. These chargers can handle high power loads, making them durable.
Choosing between a portable or fixed DC-to-DC charger depends on your needs. Fixed chargers are ideal as a more permanent solution and for maximum performance.

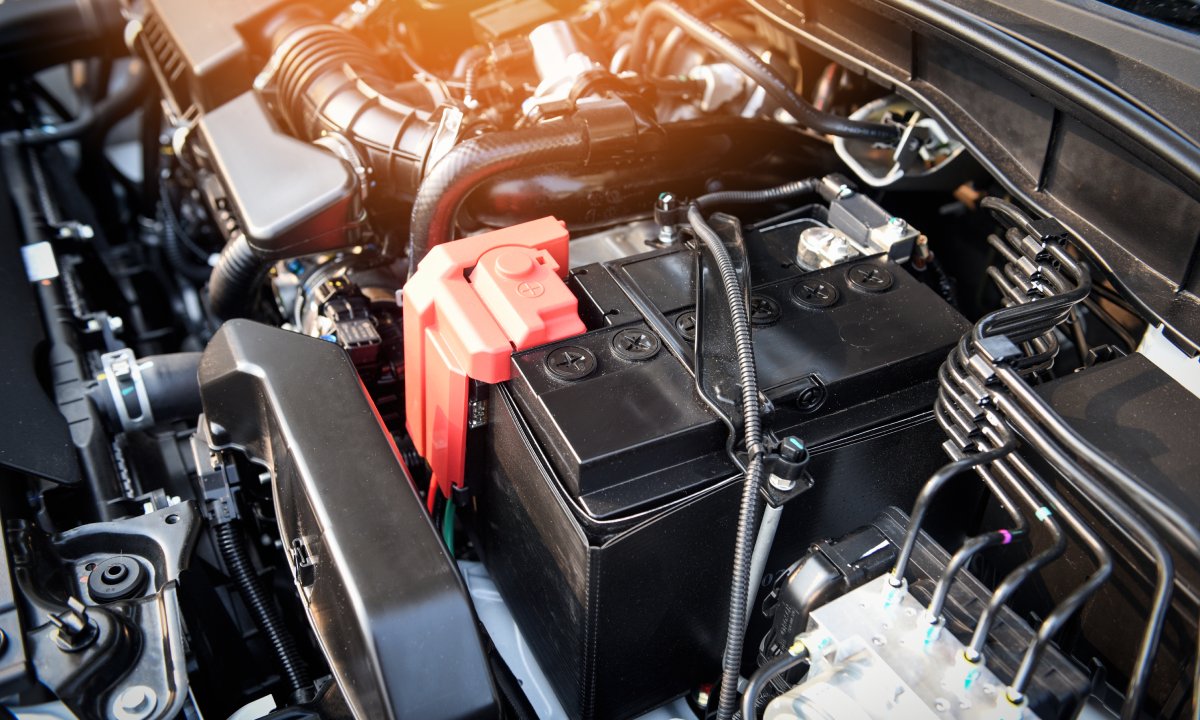
Installing a DC-to-DC Charger in Your Vehicle
If you’re ready to install a DC-to-DC charger, you’ll be glad to know that it’s a straightforward process. Before starting, gather the following tools and materials:
- DC-to-DC charger
- Wiring kit (suitable wiring, fuses, connectors, etc.)
- Crimping tool
- Wire cutters
- Drill (for fixed installations)
- Multimeter
- Zip ties
Installation Steps:
Step 1: Plan the Installation
Decide where to mount the DC-to-DC charger. Choose a location that is dry, accessible, and away from direct heat. For fixed installations, you could stall the charger under the hood, behind the rear seats, or inside the vehicle’s cargo area.
Step 2: Disconnect the Starter Battery
Before starting, disconnect your vehicle’s starter battery to prevent accidental short circuits or shocks.
Step 3: Run the Cables
Route the cables from the starter battery to the auxiliary battery and DC-to-DC charger. Use appropriate cable sizes to handle the current load over the distance. Finally, secure the cables using zip ties to prevent them from moving around.
Step 4: Install the Fuses
Install fuses on the input and output sides of the DC-to-DC charger. This prevents electrical faults that could damage the charger or batteries or injure you.
Step 5: Connect the Charger
- Connect the input side of the charger to the starter battery.
- Wire the output side to the auxiliary battery.
- Refer to the manufacturer’s instructions to get the polarity and configuration right.
Step 6: Mount the DC-to-DC Charger
This step prevents the DC-to-DC charger from vibrating or moving around during operation. Use screws or brackets to attach the charger to the chosen location.
Step 7: Test the System
Reconnect the starter battery, and use a multimeter to confirm that the system is working correctly. Next, verify that the charger provides the appropriate voltage for the auxiliary battery.
With everything in place, you’re all set to enjoy a more reliable and efficient power system in your vehicle!
Maintenance and Best Practices for Optimal Performance
To keep your DC-to-DC charger working like a charm and get the most out of your investment, follow these maintenance tips and best practices:
- Periodically check the wiring for wear or damage.
- Regularly test the charger to ensure it’s functioning properly and putting out a decent charge.
- Adhere to the manufacturer’s recommendations for maintenance, including firmware updates (if applicable).
The Future of DC-to-DC Chargers
The growing trend of electric and hybrid vehicles is taking DC-to-DC charger technology to new heights. Future models are expected to offer the following perks:
- Seamlessly connect with solar panels for eco-friendly charging.
- Advanced features for real-time monitoring via smartphone apps.
- Smaller and more lightweight chargers that are easier to install.
Investing in a DC-to-DC charger today means you’re setting up for a future-proof solution that will adapt to emerging technologies.
Powering Your Adventures
A DC-to-DC charger can transform how you power your adventures, enabling you to go further and stay off-grid longer. With clear advantages like efficient charging, extended battery life, and adaptability to modern vehicles, it’s a must-have for anyone with off-road dreams or professional needs. This guide to installing a DC-to-DC charger can be of immense help for anyone who is new to this technology.
If you are unsure which one is right for your vehicle, PowerHouse Lithium is here to help. Our DC-to-DC charger for lithium batteries will ensure you’re prepared for any adventure. Get ready to power your life!